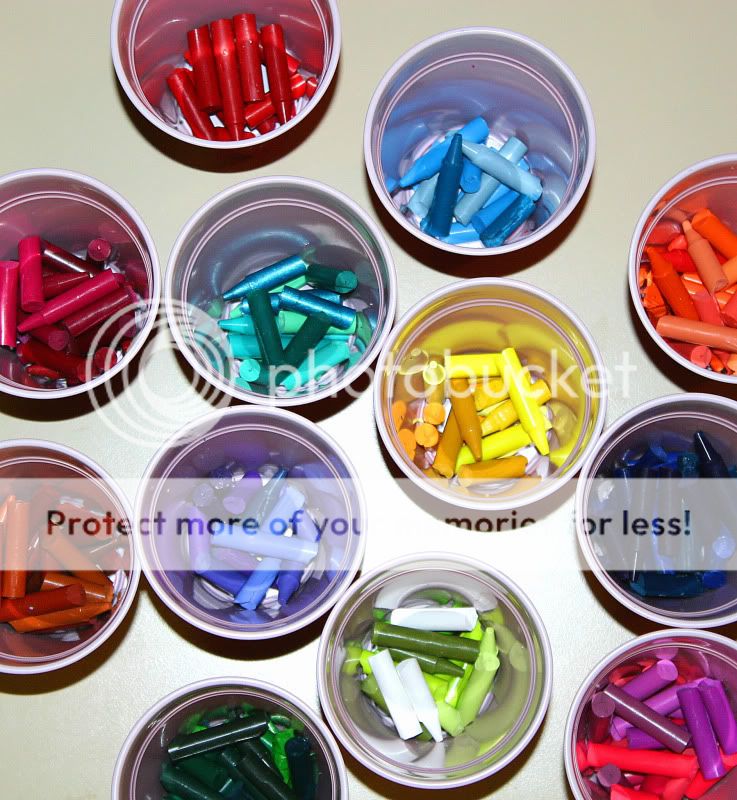
We had quite a few crayons shoved in every nook and cranny of the playroom. This lot was yielded from about 100 crayons.
Directions for Upcycling Crayons:
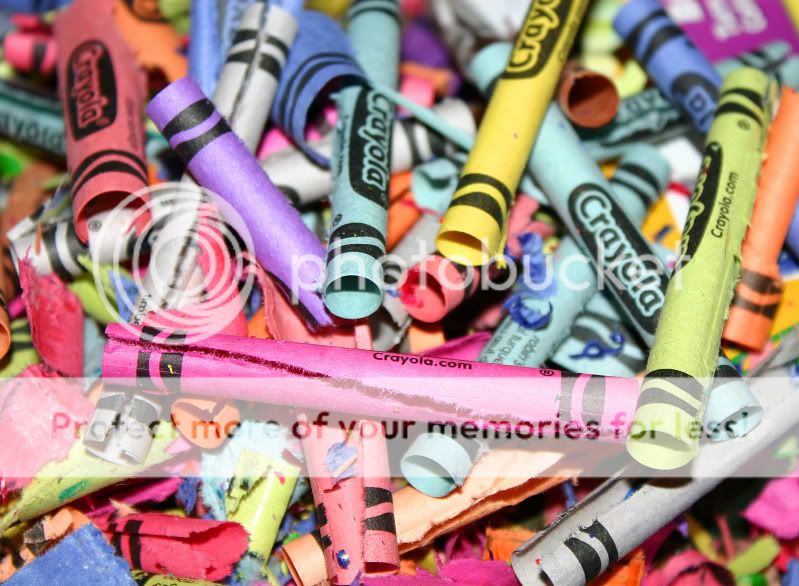 1. Gather Crayons. Half Chewed ones are still okay to use.
2. Peel off paper. Be prepared for your fingernails to look like you work at Muffler Man.
**Helpful Hint: around crayon 85, I finally got smart and realized the trick to successfully un-peeling crayons. Take a sharp knife, turn it upside down, and slip the tip right inside the seam. It leaves a small slit in the crayon, but the peelings come off in one big hunk.
3. Separate by Color
I tried:: Styrofoam cups in the microwave and oven, six ramekins (also melted in the oven), shattered two glass cups in the microwave, and generally made a huge mess.
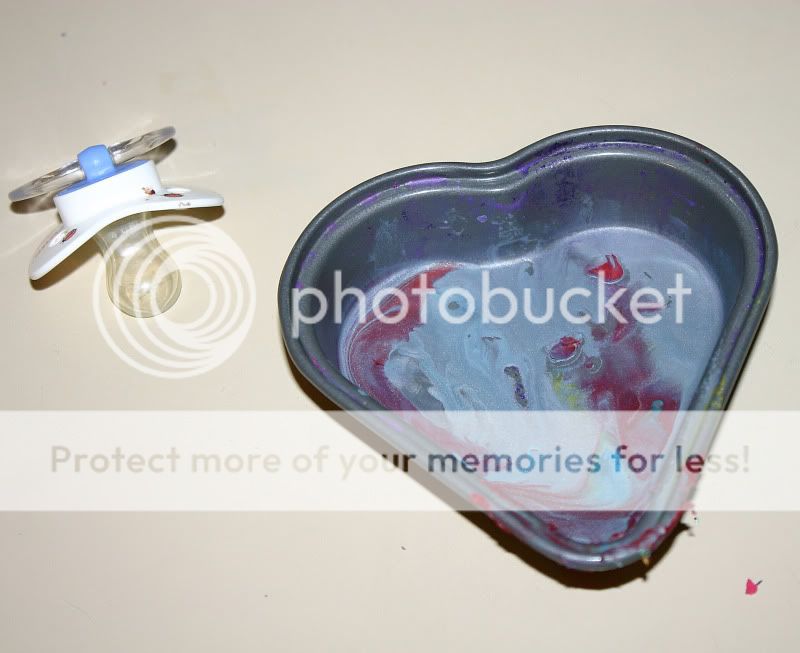
This small pan above (with Bryce's paci as a reference point) is the perfect size for crayon melting. I lined it with aluminum foil and changed the aluminum foil with each color change. It was small enough that I could still pour the melted crayons into the molds.
You are going to want to watch the crayons closely. The liquify quickly.
In the microwave, it took around 5 minutes on high for all particles to be fully melted.
In the oven, it took around 8 minutes at 350 degrees.
5. Stir. How much stirring needs to be done depends of if you would rather have one solid color or a swirled look to your finished crayon. I did some of each and like both.
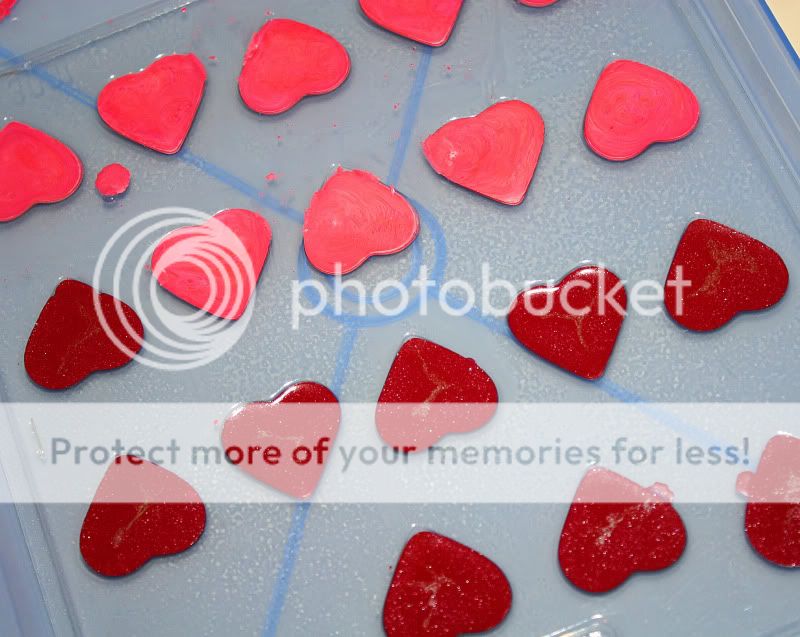 6. Pour into the mold.
 **Tip: a VERY light coating of non-stick spray makes the entire process run a whole lot smoother. The crayons and extra splatters pop off so much easier.
**Tip: Speaking of splatters....at first, I was very careful to not drip. Dripping is okay, and can easily be fixed with a sharp knife. Once the hearts had hardened, I took the edge of the knife and cut off all of the imperfections.

**Tip: Find unique molds at Hobby Lobby, Michaels, Walmart, or here. Most run about $1.99.
I also got this tractor mold and a few others to try out.
7. Let harden. I am not a patient person and I only had a few molds, so I put them in the refrigerator to quicken the hardening process.
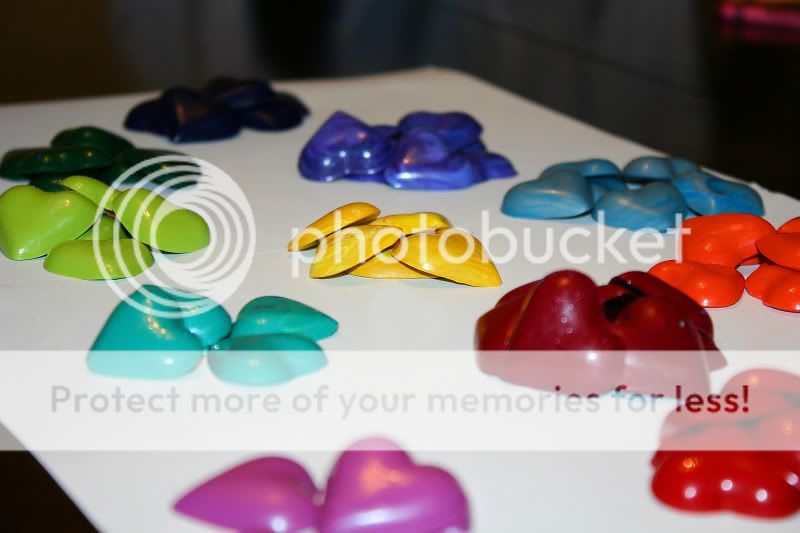 9. Make sure your two year old doesn't mistake it for candy and try to eat it.
 10. I like to separate them again into colors before assembling. I know a few little girls that would be pretty upset if pink was missing from their goodie bag.
 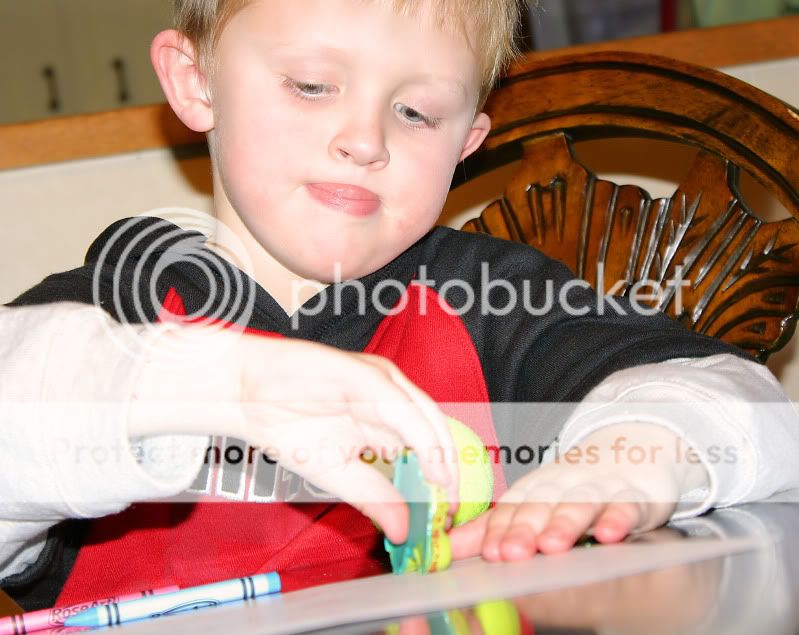 11. Testing is important and sticking out your tongue to concentrate is a very distinct family trait.
 11. I then made this little graphic on the computer.
 12. Divide crayons into the bags (I got 100 for $1.50 at Hobby Lobby in the Cake Section) and attach a special tag. Tie off with ribbon.
Final Thoughts: This was a fun project, easy to do, and I like that I had most of the supplies in the house already. Although it took far longer to finish than I thought, the lingering smell of the Crayola crayon spilled inside my oven will remind us for weeks of the fun shared while making Valentine's for Kayden's preschool class.
My SUPER FIND (so excited) is coming tomorrow.



10 comments:
Thanks for sharing this! I might have to try it!
I love these!
Brenda A.
These are absolutely precious! Thank you so much for sharing, and your photography is just lovely!
Such a fun idea... I'm in charge of valentine favors at Wesley's school. So now I will have to find a mold. Where did you get your heart mold? on your link for molds-- is the top heart one okay to use?? What do the molds have to be made out of?... thanks!!! Love Jess
Rckclmbrjess@yahoo.com
I think you can really use any mold. It just all depends on how you want to melt the crayon. If you use one that can go in the oven, you can melt the crayon right in the mold and save a step!
I had to premelt the crayon and then put into the heart mold because mine was plastic.
I am amazed at all the places that sell molds once I actually started looking- Walmart, Meijers, Hobby Lobby, any Cake Supply store woujld have them. There are some really fun options out there:-)
I would love to see how they turn out if you make them!
http://thisandthataboutthebowmans.blogspot.com/2010/02/valentine-party-favors.html
Thanks for the great idea!!!
Love Jess
The kids should LOVE them!
Those look great, Jess!
I love the little hearts! SO CUTE! I made crayons with my kids using those free standing cupcake cups (the ones made out of foil). We put the broken crayons in the cups and put them in the oven to melt. They make Reece's peanut butter cup shaped crayon and is VERY easy cleanup (but not nearly as cute as those little hearts)
Thanks for your comment Adrienne! Easy cleanup actually sounds like a lot more fun LOL
Good post and this mail helped me alot in my college assignement. Say thank you you as your information.
Post a Comment